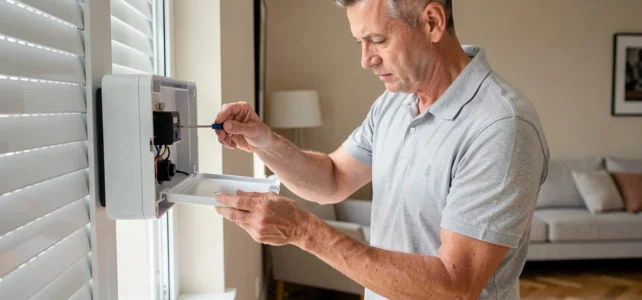
A Bubendorff roller shutter that stops too high, too low, or in mid-course almost always indicates a misalignment of the limit stops memorized in the motor’s electronics. Before adjusting, we recommend eliminating the most common causes of malfunction, which often have nothing to do with the limit stops themselves.
Diagnosis before adjustment: the real causes of failure on Bubendorff motors
The majority of interventions labeled “limit stop” in the field reveal an upstream problem. The radio pairing between the remote control and the motor, the power supply (dedicated circuit breaker, connection to the terminal block), and the condition of the capacitor are the three areas to check before any manipulation of the limit stops.
A worn capacitor causes behavior similar to a limit stop malfunction: the curtain slows down, stops before the programmed position, or refuses to go up. Replacing the capacitor in this case resolves the issue without touching the limit stops.
- Check the remote control battery and test the radio pairing (motor LED flashing upon receiving a command)
- Check the voltage at the motor terminal block, circuit breaker on, to rule out a power supply issue
- Listen to the motor at startup: a humming sound without rotation indicates a faulty capacitor rather than a misalignment of the limit stops
- Ensure that no slat of the curtain is misaligned or blocked in the tracks, creating mechanical resistance that the motor interprets as a limit stop
This mini-diagnosis takes a few minutes and prevents unnecessarily resetting limit stops that are correctly recorded. Mastering the limit stop adjustment for Bubendorff roller shutters first requires ruling out these peripheral causes.
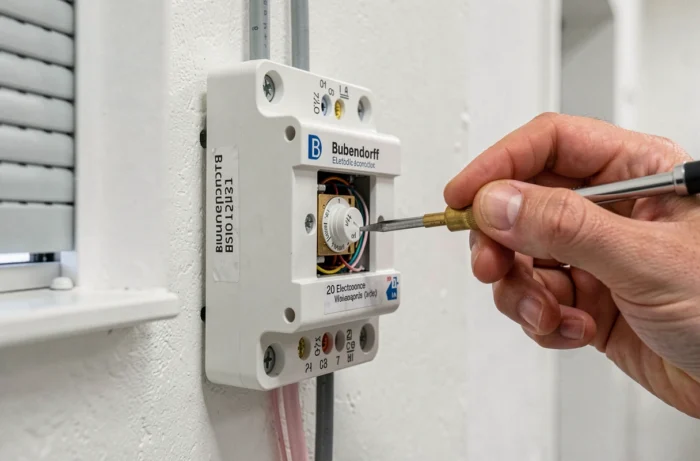
Recent Bubendorff radio motor: automatic limit stops and group control
The latest generation Bubendorff radio motors (type 10/16 CI1 ID1) feature automatic limit stops. The motor detects the high and low positions by measuring the mechanical resistance of the curtain against the box and the threshold. The classic manual procedure (up/down impulses, validation by long press) no longer applies in the same way.
These motors are also groupable on general command via the Bubendorff radio protocol. In an installation with multiple shutters, a single remote control operates them all, and the limit stops remain individual for each motor. Confusing group control with global reset is a common mistake that erases the limit stops of all shutters instead of just one.
Identify the motor generation before any manipulation
The behavior of the motor upon powering on provides a reliable indication. On recent motors, a brief movement of the curtain (up then down a few centimeters) signals self-diagnosis. On older RG or iD2/iD3 motors, the curtain remains stationary until a radio command is sent.
The exact reference of the motor is found on the label affixed to the winding tube, accessible by opening the box. We advise against initiating an adjustment procedure without first identifying this reference, as an incorrect sequence can permanently lock the limit stops on certain older models.
Limit stop adjustment procedure for wired and radio motors
The logic remains the same regardless of the generation: erase the existing limit stops, position the curtain at the desired height, then validate. The sequences differ depending on the type of control.
Erasing limit stops on wired motor F
On a wired motor, erasing involves a calibrated power cut. Turn off the power at the circuit breaker, wait a few seconds, then restore power. The motor performs a slight movement confirming the acknowledgment. If this movement does not occur, the cut duration was insufficient or the motor is not in adjustment mode.
Erasing and recording on radio motor R
On a radio motor, erasing requires a sequence of presses on the remote control (simultaneous up + down combination, then validation). The LED of the radio receiver confirms each step. We observe that most failures stem from timing being too quick between presses: allow at least two seconds between each press.
Once the limit stops are erased, position the curtain at the desired high position using short impulses on the up button. Validate the high limit stop. Repeat the operation in the down direction for the low limit stop. A final long press records both positions.
Limit stop adjustment errors for Bubendorff and field solutions
Three errors consistently occur during limit stop adjustment.
The first: resetting the limit stops when the problem is mechanical. A curtain with a slat that has slipped out of the track creates asymmetric resistance. The motor then records a distorted limit stop. Replacing the slat before restarting the adjustment eliminates the problem.
The second: performing the erasing procedure on a motor with automatic limit stops. On these models, forcing a manual erase disables automatic detection. A complete reset (long cut, re-pairing of the remote control) must then be performed to restore original functionality.
The third: not testing the complete cycle after recording. Validating the limit stops without performing at least three complete up/down cycles allows a gradual misalignment to occur that only manifests after several days of use. The motor slightly adjusts its position with each cycle during the first maneuvers.
When to call a professional
If the motor does not respond to any commands after resetting, if the radio LED remains off despite correct pairing, or if the curtain forces against the box in the high position, the problem goes beyond limit stop adjustment. A fault in the electronic board or a motor at the end of its life requires replacing the motor block, an intervention that Bubendorff oversees through its network of authorized repairers.
Adjusting the limit stops remains an accessible operation provided the sequence specific to each motor generation is followed. Identify the model, rule out mechanical and electrical causes, then follow the step-by-step procedure without rushing: this is the only method that yields a stable result over time.