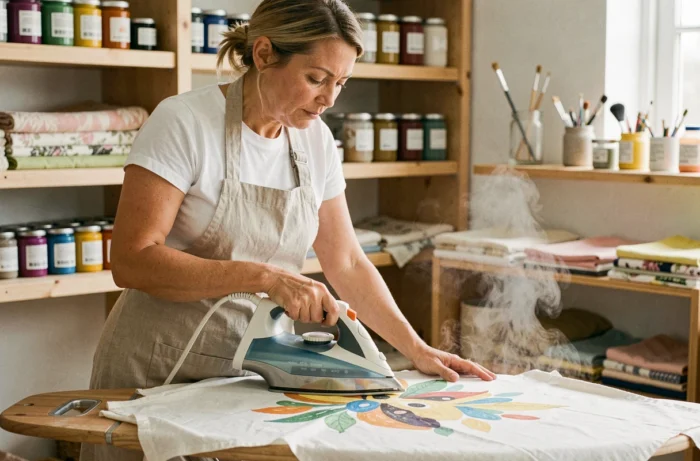
Most textile inks sold for craft projects claim to be wash-resistant on the label. In practice, how well a design holds up depends less on the ink itself than on the fixing method used after printing. Fixing ink on fabric is a technical step in which the fiber type, ink formulation, and heat conditions interact in precise ways.
Why a dry surface doesn’t guarantee that textile ink will last
A design that feels dry to the touch can fade in the very first machine wash. Surface drying means the solvent (water or thinner) has evaporated—not that the ink binder has polymerized within the fiber.
Polymerization requires a combination of temperature and time that ambient air cannot provide. Until this chemical reaction is complete, the ink film remains vulnerable to mechanical friction and detergent. Screen-printing professionals recommend checking that the ink has set by washing a test sample, rather than relying on how the design looks.
To better understand how to fix ink on fabric in different situations, first distinguish between the types of ink and their specific requirements.
Pigment inks and reactive inks: two different approaches to fixing ink on fabric
Applying the same fixing instructions to all textile inks is a common mistake. Their chemistry differs, so the method must, too.
Water-based pigment inks
The pigments remain on the fiber’s surface, held in place by an acrylic or vinyl binder. Heat hardens the binder and makes it water-resistant. The finished fabric may feel slightly stiff, especially across large solid areas. On the other hand, pigment inks do not require post-print washing, which simplifies the process at home.
Reactive inks
These inks form a chemical bond with the cellulose in cotton and other natural fibers. Fixing often involves steam or a chemical bath. After the reaction, rinsing removes any excess unfixed dye. The result feels softer, but the process requires more equipment and care.
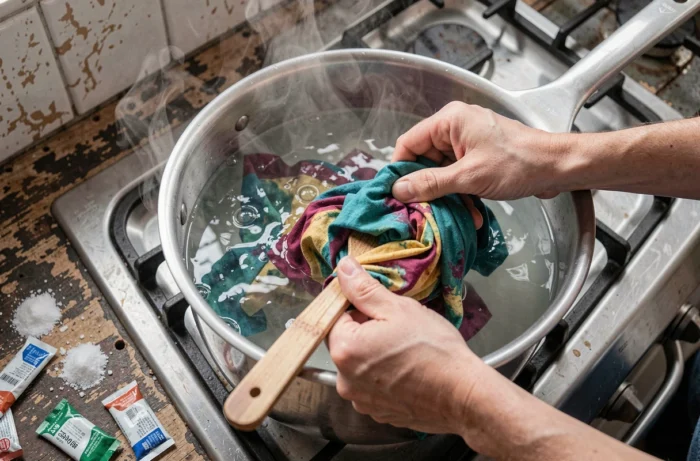
Confusing these two types can lead you to iron a reactive ink that needs steam, or rinse a pigment ink that only needs dry heat. In either case, the design may fade or crack.
Heat setting: temperature, duration, and common pitfalls
Heat is the most accessible way to set a design printed or stamped at home. Three factors determine the result.
- The temperature of the tool (iron, heat press, or oven) must match the ink’s technical data sheet, not the garment’s ironing symbol. There is no universal setting temperature: each formulation has its own thresholds.
- How long the ink is exposed to heat matters just as much as the temperature. A quick pass with an iron is usually not enough. Holding the heat over each printed area for several dozen seconds helps the binder polymerize fully.
- The thickness of the ink deposit affects the time required. A thick solid area needs more heat than a fine line because the binder must harden throughout the entire film.
The most common mistake is ironing directly over the design. The iron’s soleplate can stick to ink that is still soft and pull the film away. Place a thin cotton cloth (a dry pressing cloth) or parchment paper between the iron and the design to protect the print without blocking heat transfer.
Heat press or iron
A heat press applies even pressure and heat across the entire surface, reducing the risk of areas that are not properly set. With an iron, you have to work in sections. On a large design, some areas may receive less heat than others. Washing the fabric after heat-setting with an iron is the only reliable way to confirm that every part of the design has fully polymerized.
Setting ink on cotton and polyester: how fabric composition affects the process
Cotton works with most textile inks and can withstand high setting temperatures without deforming. It is the most forgiving fabric for a first attempt.
Polyester presents a specific challenge. When exposed to heat, dyes in polyester fabric can migrate and alter the colors of the printed design. A red polyester T-shirt may tint a white design printed on top of it. This dye migration is unpredictable unless you test it on the actual fabric first.
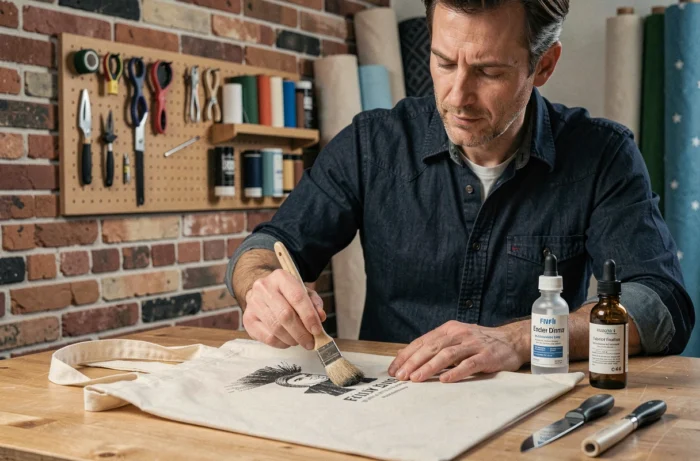
Cotton-polyester blends combine the challenges of both fibers. The temperature must be low enough for the more heat-sensitive polyester, yet high enough to set the ink on the cotton content. With this type of fabric, testing a sample before starting a full run can prevent wasted materials.
Ink from handmade stamps on fabric: setting is often overlooked
Hand-carved block printing often uses water-based inks formulated for textiles. The deposited layer is usually thin and uneven, which can create the false impression that it dries quickly.
Heat setting is the most common method for these inks. Let the design dry completely to the touch (often for several hours in the open air) before applying heat to prevent bubbles from forming in the ink film. On plain cotton, an iron set to the cotton setting and held still for about 30 seconds over each area generally gives good results.
For screen printing at home with water-based inks, the same principle applies, but the ink deposit is thicker. Several hours of drying followed by prolonged heat setting is the standard process for these inks.
The first wash after setting should be done in cold water, with the garment inside out and without fabric softener. This is not an absolute guarantee, but it is the best way to protect the design during the first few wash cycles. If it survives the first wash, it will generally hold up in subsequent washes.