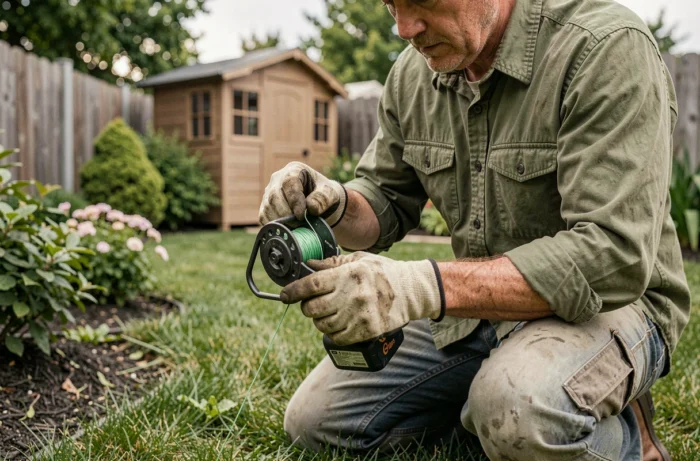
The nylon line of a string trimmer wears down with each pass against grass, gravel, or the edge of a terrace. When the available line length becomes too short, the cut loses sharpness and the motor runs idle. Knowing how to replace this line correctly prevents repeated stops and extends the life of the cutting head.
Diameter and profile of the line: two criteria to check before any replacement
The maximum allowable diameter is dictated by the cutting head, not just the motor. The STIHL AutoCut 36-2 head, for example, accepts lines up to 3.3 mm, while some STIGA heads impose specific diameters through dedicated adapters. A line that is too thick blocks winding or overloads the motor, while a line that is too thin breaks at the slightest contact with a hard obstacle.
The profile of the line’s cross-section plays a role that standard guides often overlook. A round line limits damage to fences and walls during accidental contacts, making it suitable for enclosed gardens. Grooved lines, sometimes called “silent,” reduce whistling during rotation. This noise reduction is not negligible when working in residential areas early in the morning.
Before buying a replacement spool, simply turn the cutting head over. The maximum diameter is usually engraved or indicated on a sticker. If the information has faded, the manufacturer’s manual remains the most reliable source.
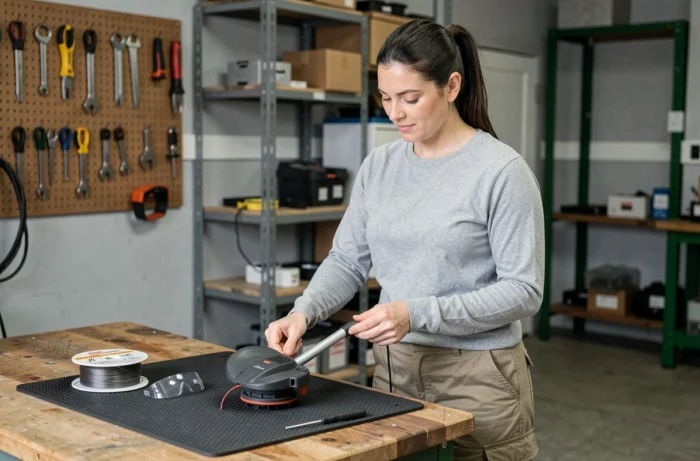
Nylon line on spool or quick load head: the method varies depending on the equipment
Not all string trimmers are reloaded in the same way. The type of head installed determines the procedure, and confusing the two methods is the primary cause of poorly wound line. Before changing the string trimmer line, identifying the system in place saves time.
Manual winding head (standard spool)
This is the most common system on entry-level and mid-range models. The spool is removed after unscrewing or unclipping the lower cover of the head. The new line is wound in the direction indicated by the arrow molded on the spool, in regular layers, without overlapping.
- Cut a length of line suitable to the manufacturer’s recommendations (indicated in the manual or on the spool itself), as excess line prevents the cover from closing properly.
- Pass the end of the line through the exit eyelet before putting the spool back in place, otherwise the line remains stuck inside.
- Check that the spool turns freely once the cover is closed, by gently pulling on the line to ensure it unwinds smoothly.
Quick load head (Tap and Go or Easy Load type)
These heads allow a pre-cut line to be passed through eyelets without disassembling the spool. The line is inserted from one side, pulled until equal lengths are obtained on both sides, and then the head automatically winds the line by simply pressing it against the ground or rotating it. The operation takes a few seconds compared to several minutes for manual winding.
The compatibility of these heads depends on the model of the machine and the provided adapters. Not all string trimmers can accept an Easy Load head in place of a standard head. Checking the threading and the direction of screwing (often reversed, counterclockwise) remains a precaution not to be overlooked.
Why the string trimmer line breaks or won’t come out: technical causes
A line that consistently breaks or refuses to unwind is not always defective. Several mechanical causes explain these malfunctions, and identifying them prevents wasting new line.
A line stored in the sun for months becomes brittle. Nylon dehydrates under the effect of UV rays and heat. Soaking a rigid line in water overnight restores some of its flexibility. This simple gesture extends the life of a partially used spool.
When the line no longer comes out in Tap and Go mode, the most common cause is irregular winding. Overlapping coils create an internal blockage. The solution involves completely disassembling the spool, cleaning out accumulated grass debris in the housing, and then carefully rewinding.
An unsuitable line diameter also causes premature breaks. A thin line on a powerful string trimmer breaks upon contact with woody stems. Conversely, a thick line on a small electric trimmer forces the motor and reduces the rotation speed, which paradoxically wears the line out faster by tearing rather than cutting cleanly.
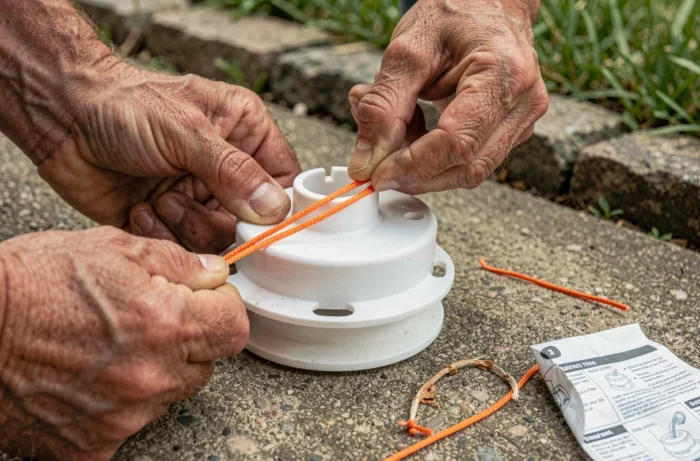
Replacement with a blade head: an alternative under certain conditions
Some users consider replacing the line head with a plastic or metal blade head to avoid frequent reloads. This option exists, but it is not universal.
Installing a blade head requires an appropriate protective cover, larger than that intended for nylon line. Without this cover, flying debris poses a real risk. On lightweight entry-level string trimmers, manufacturers generally do not provide for this possibility, and installing an unapproved blade head voids the warranty.
For dense vegetation (brambles, tall nettles, woody regrowth), blades offer a cleaner cut and better energy efficiency on battery power. However, upon contact with a wall or metal post, a rigid blade transmits much stronger vibrations than a nylon line that simply wears out. The choice therefore depends on the terrain and the obstacles present.
A well-chosen nylon line, stored out of the sun and wound correctly, covers the majority of domestic uses. The blade head is mainly justified for intensive brush clearing work, on thermal machines or high-powered battery models. Checking compatibility in the manufacturer’s manual remains the reflex to have before any purchase.